> ## Documentation Index
> Fetch the complete documentation index at: https://developer.starpayethiopia.com/llms.txt
> Use this file to discover all available pages before exploring further.
# Get Started with StarPay
> Account setup and sandbox onboarding for Star-Pay merchants.
## 1. Create a StarPay Sandbox Account
Before integrating StarPay, you need a sandbox account for testing.
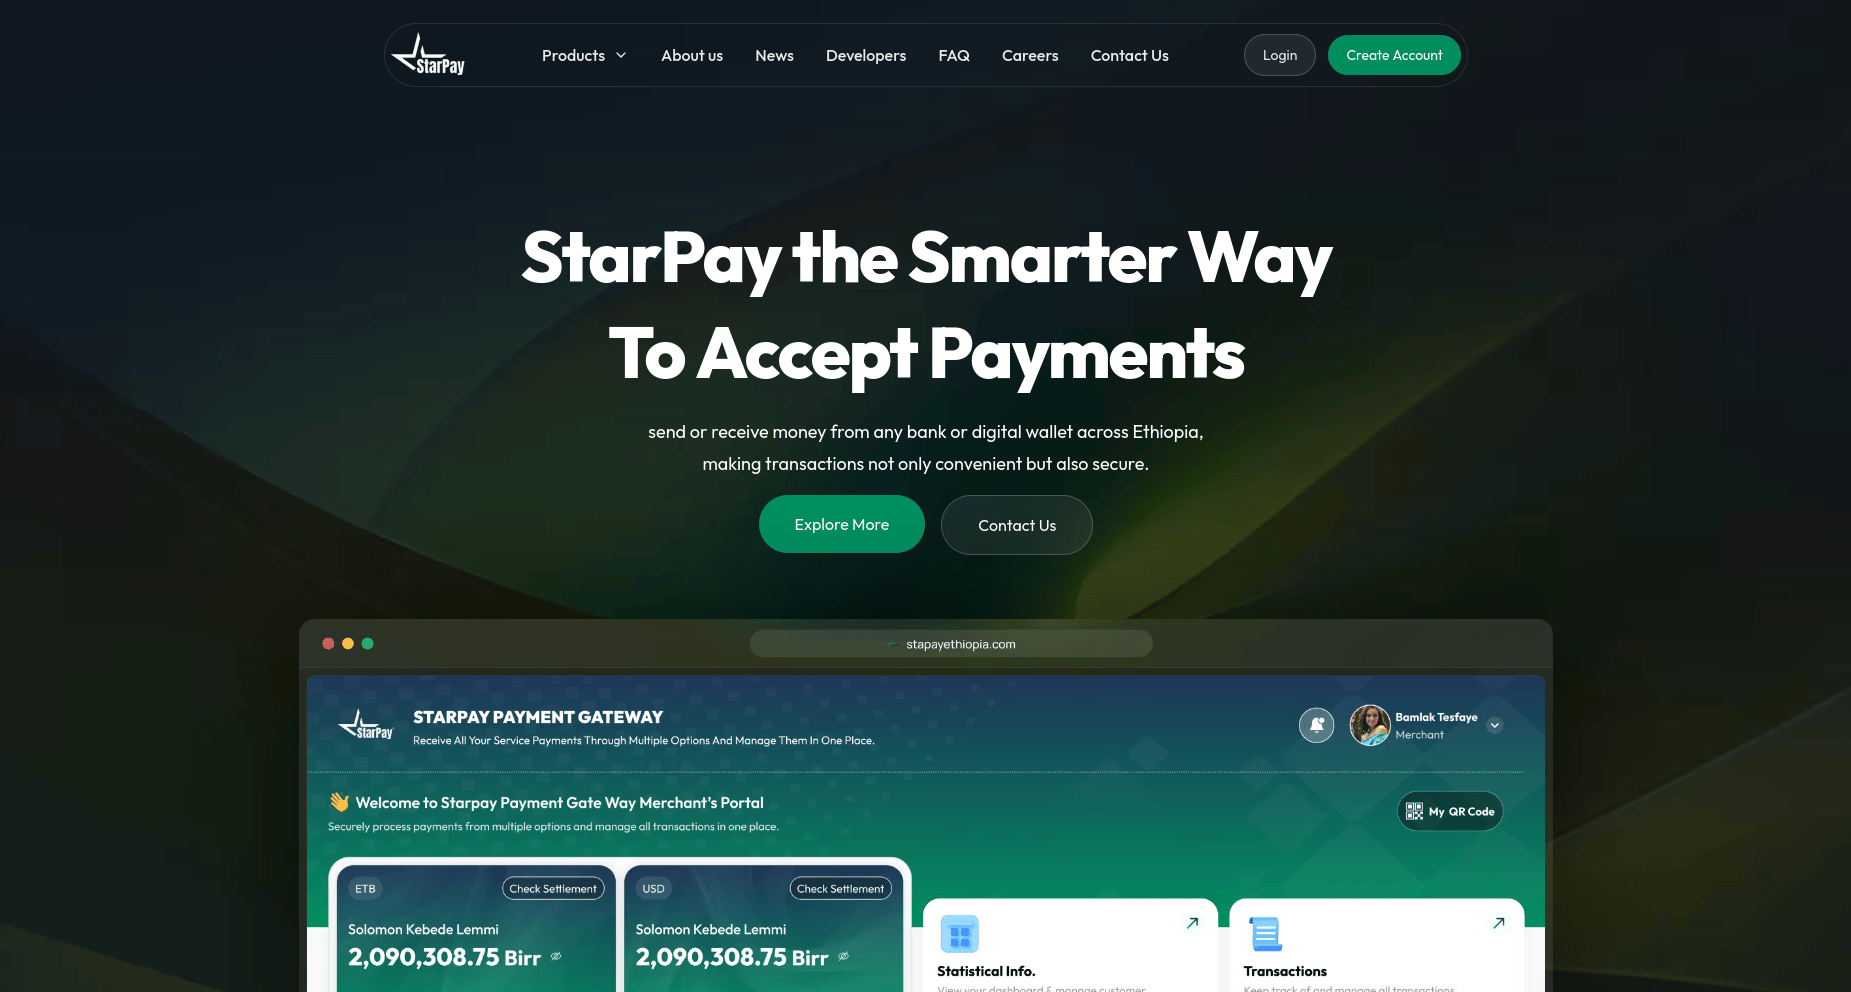
1. Visit **starpayethiopia.com** to create a sandbox merchant account.
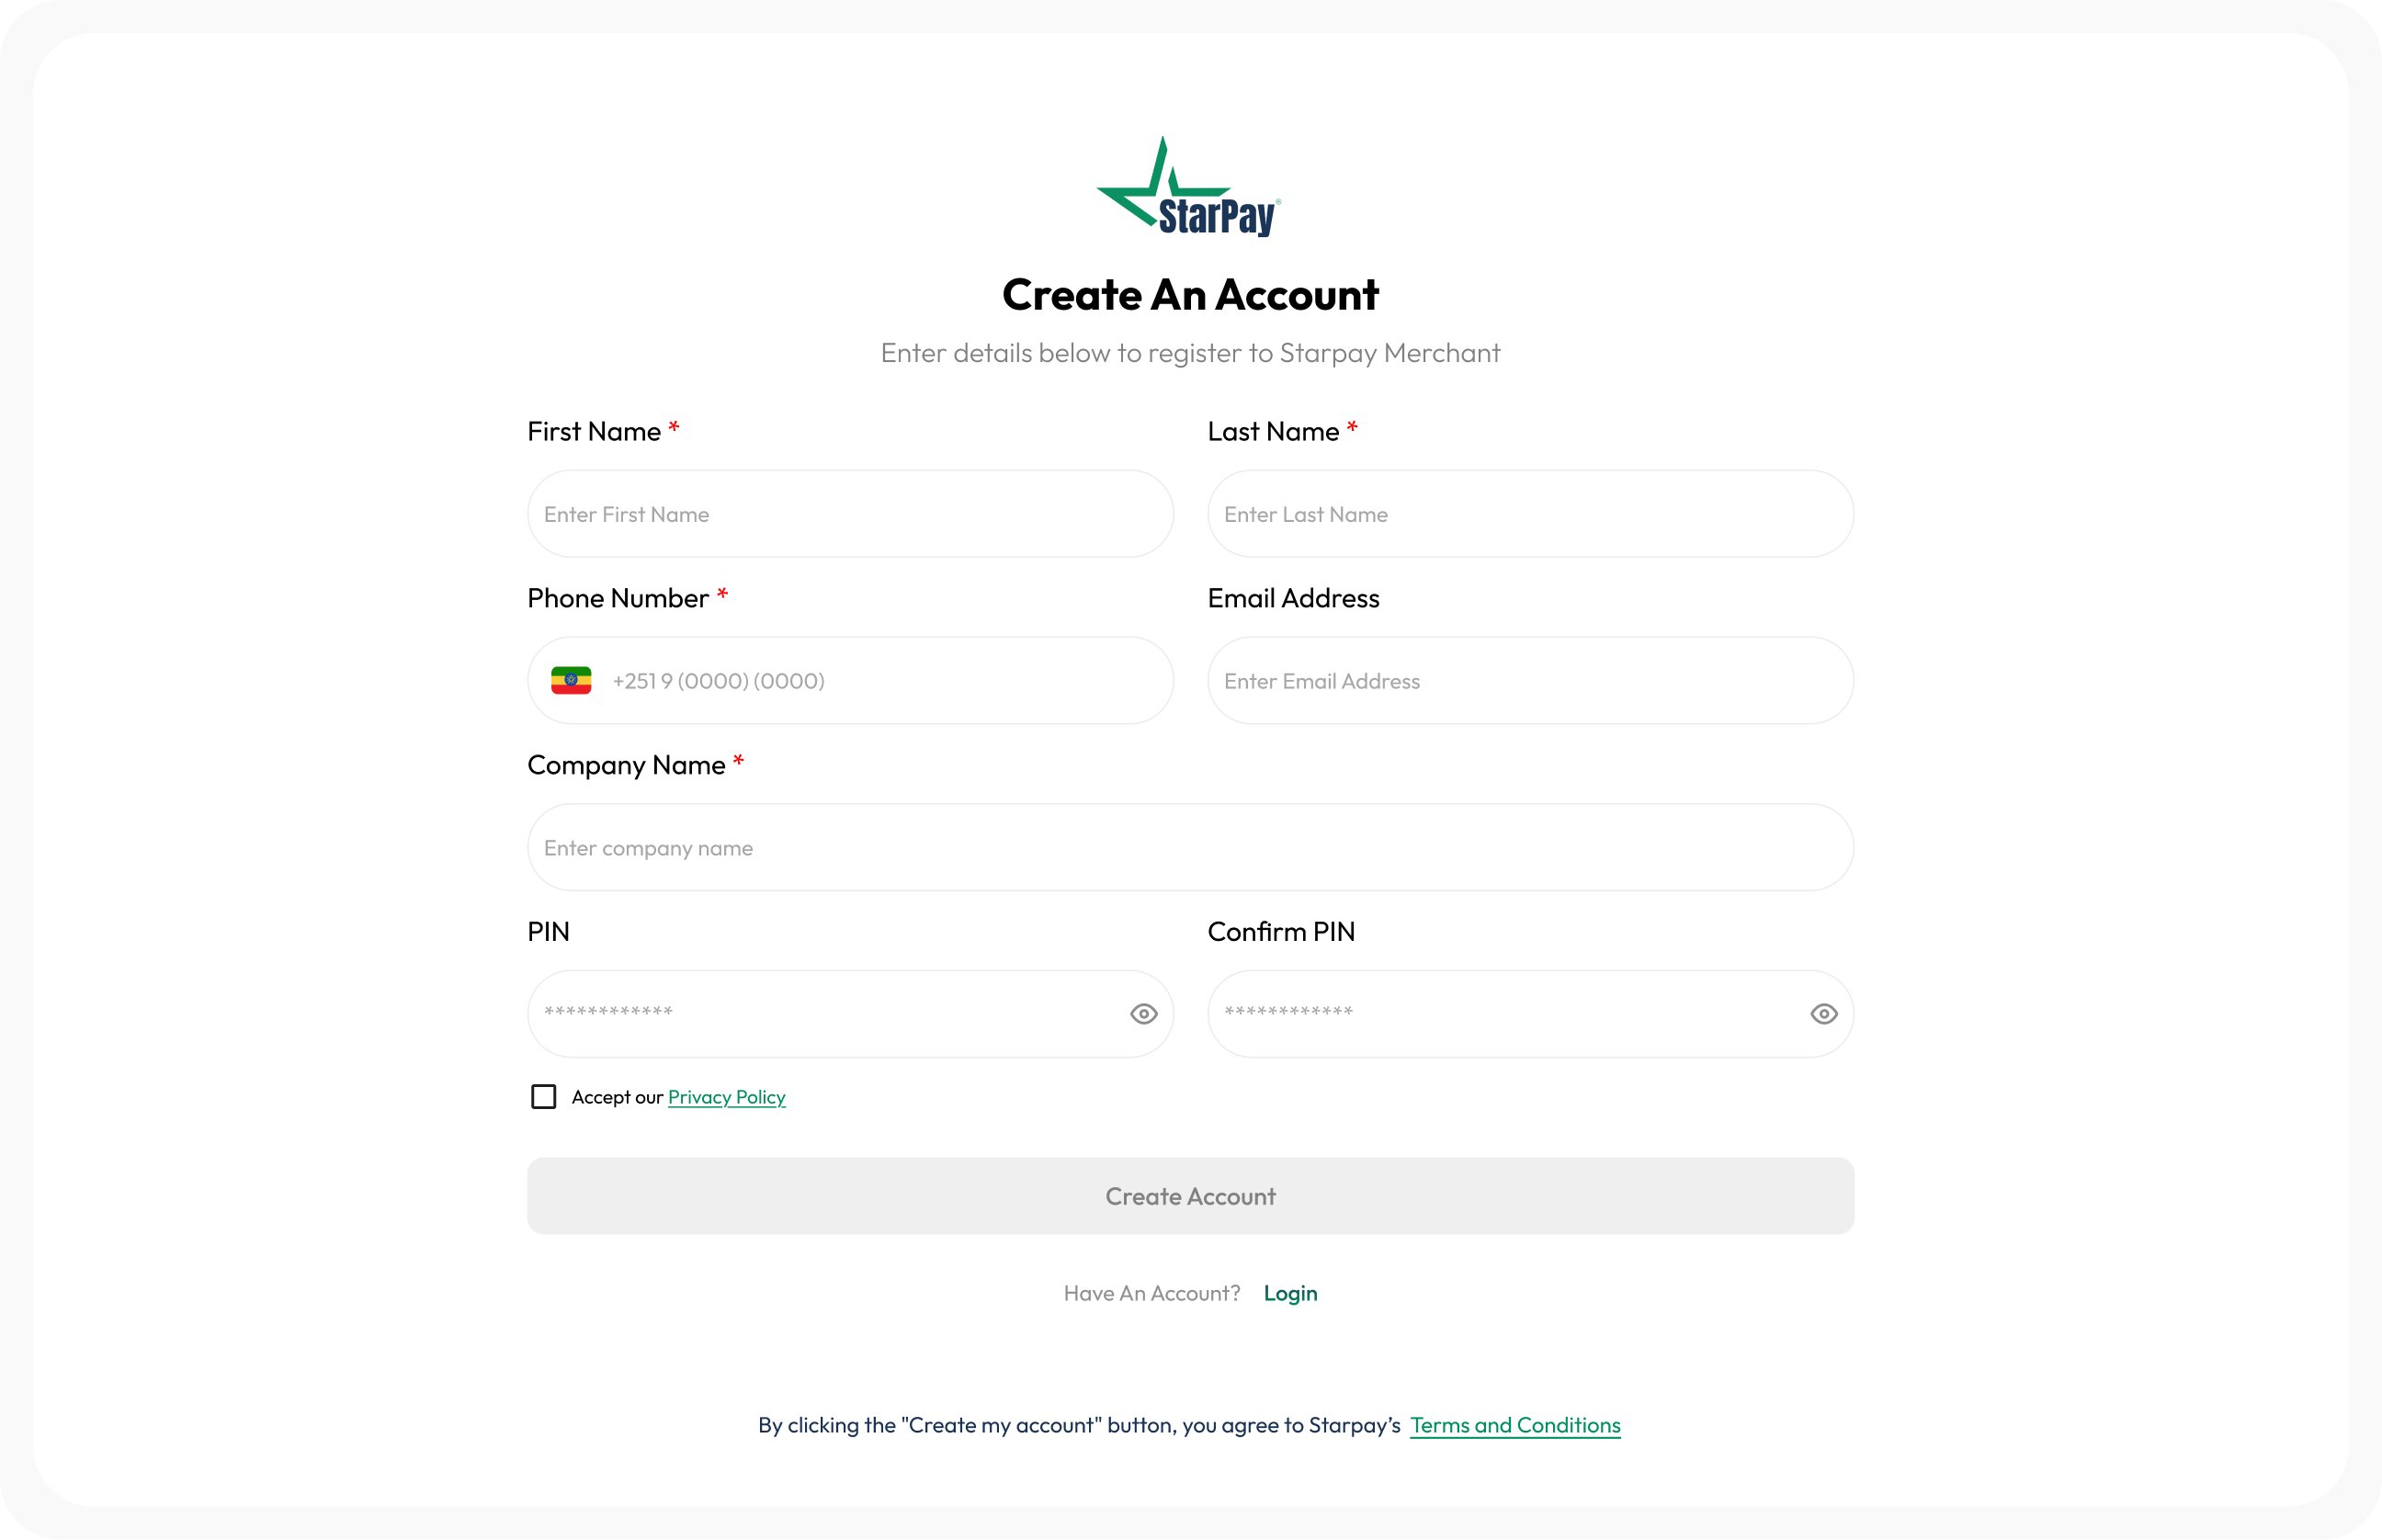
 2. Complete the registration form with the required information.
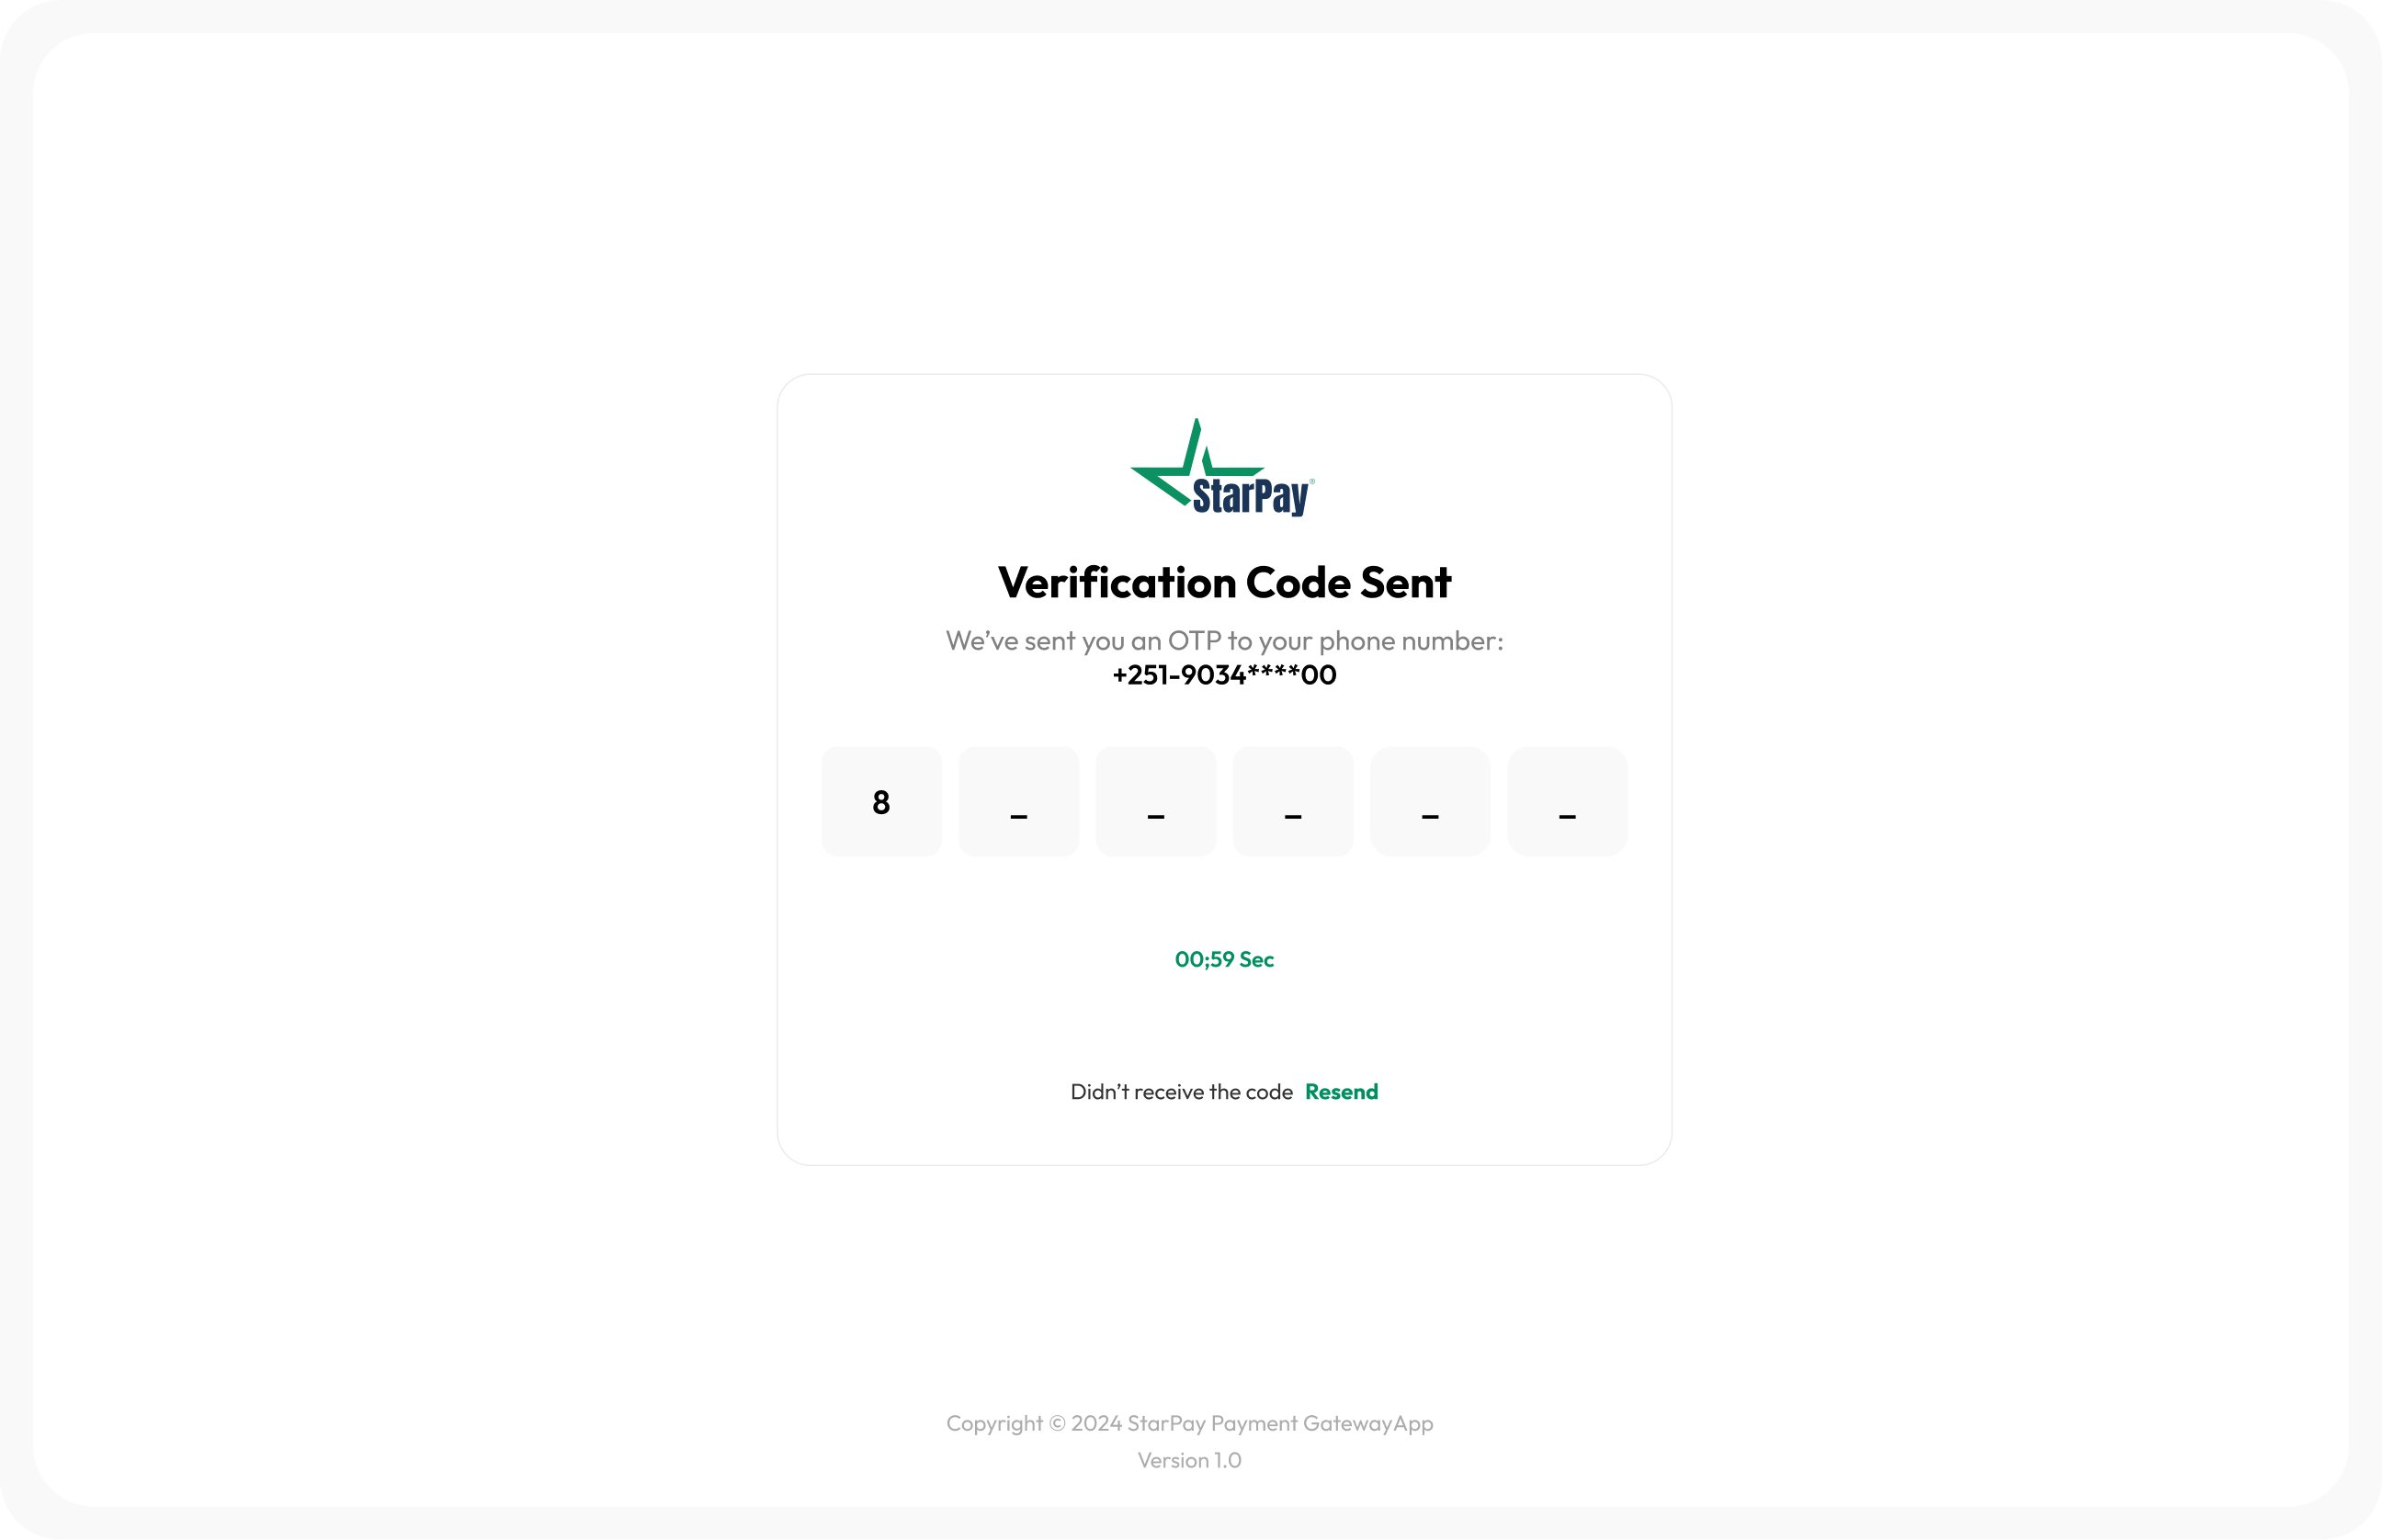
 3. After your account is created, a unique **Sandbox Merchant ID** will be sent to your verified phone number via SMS.
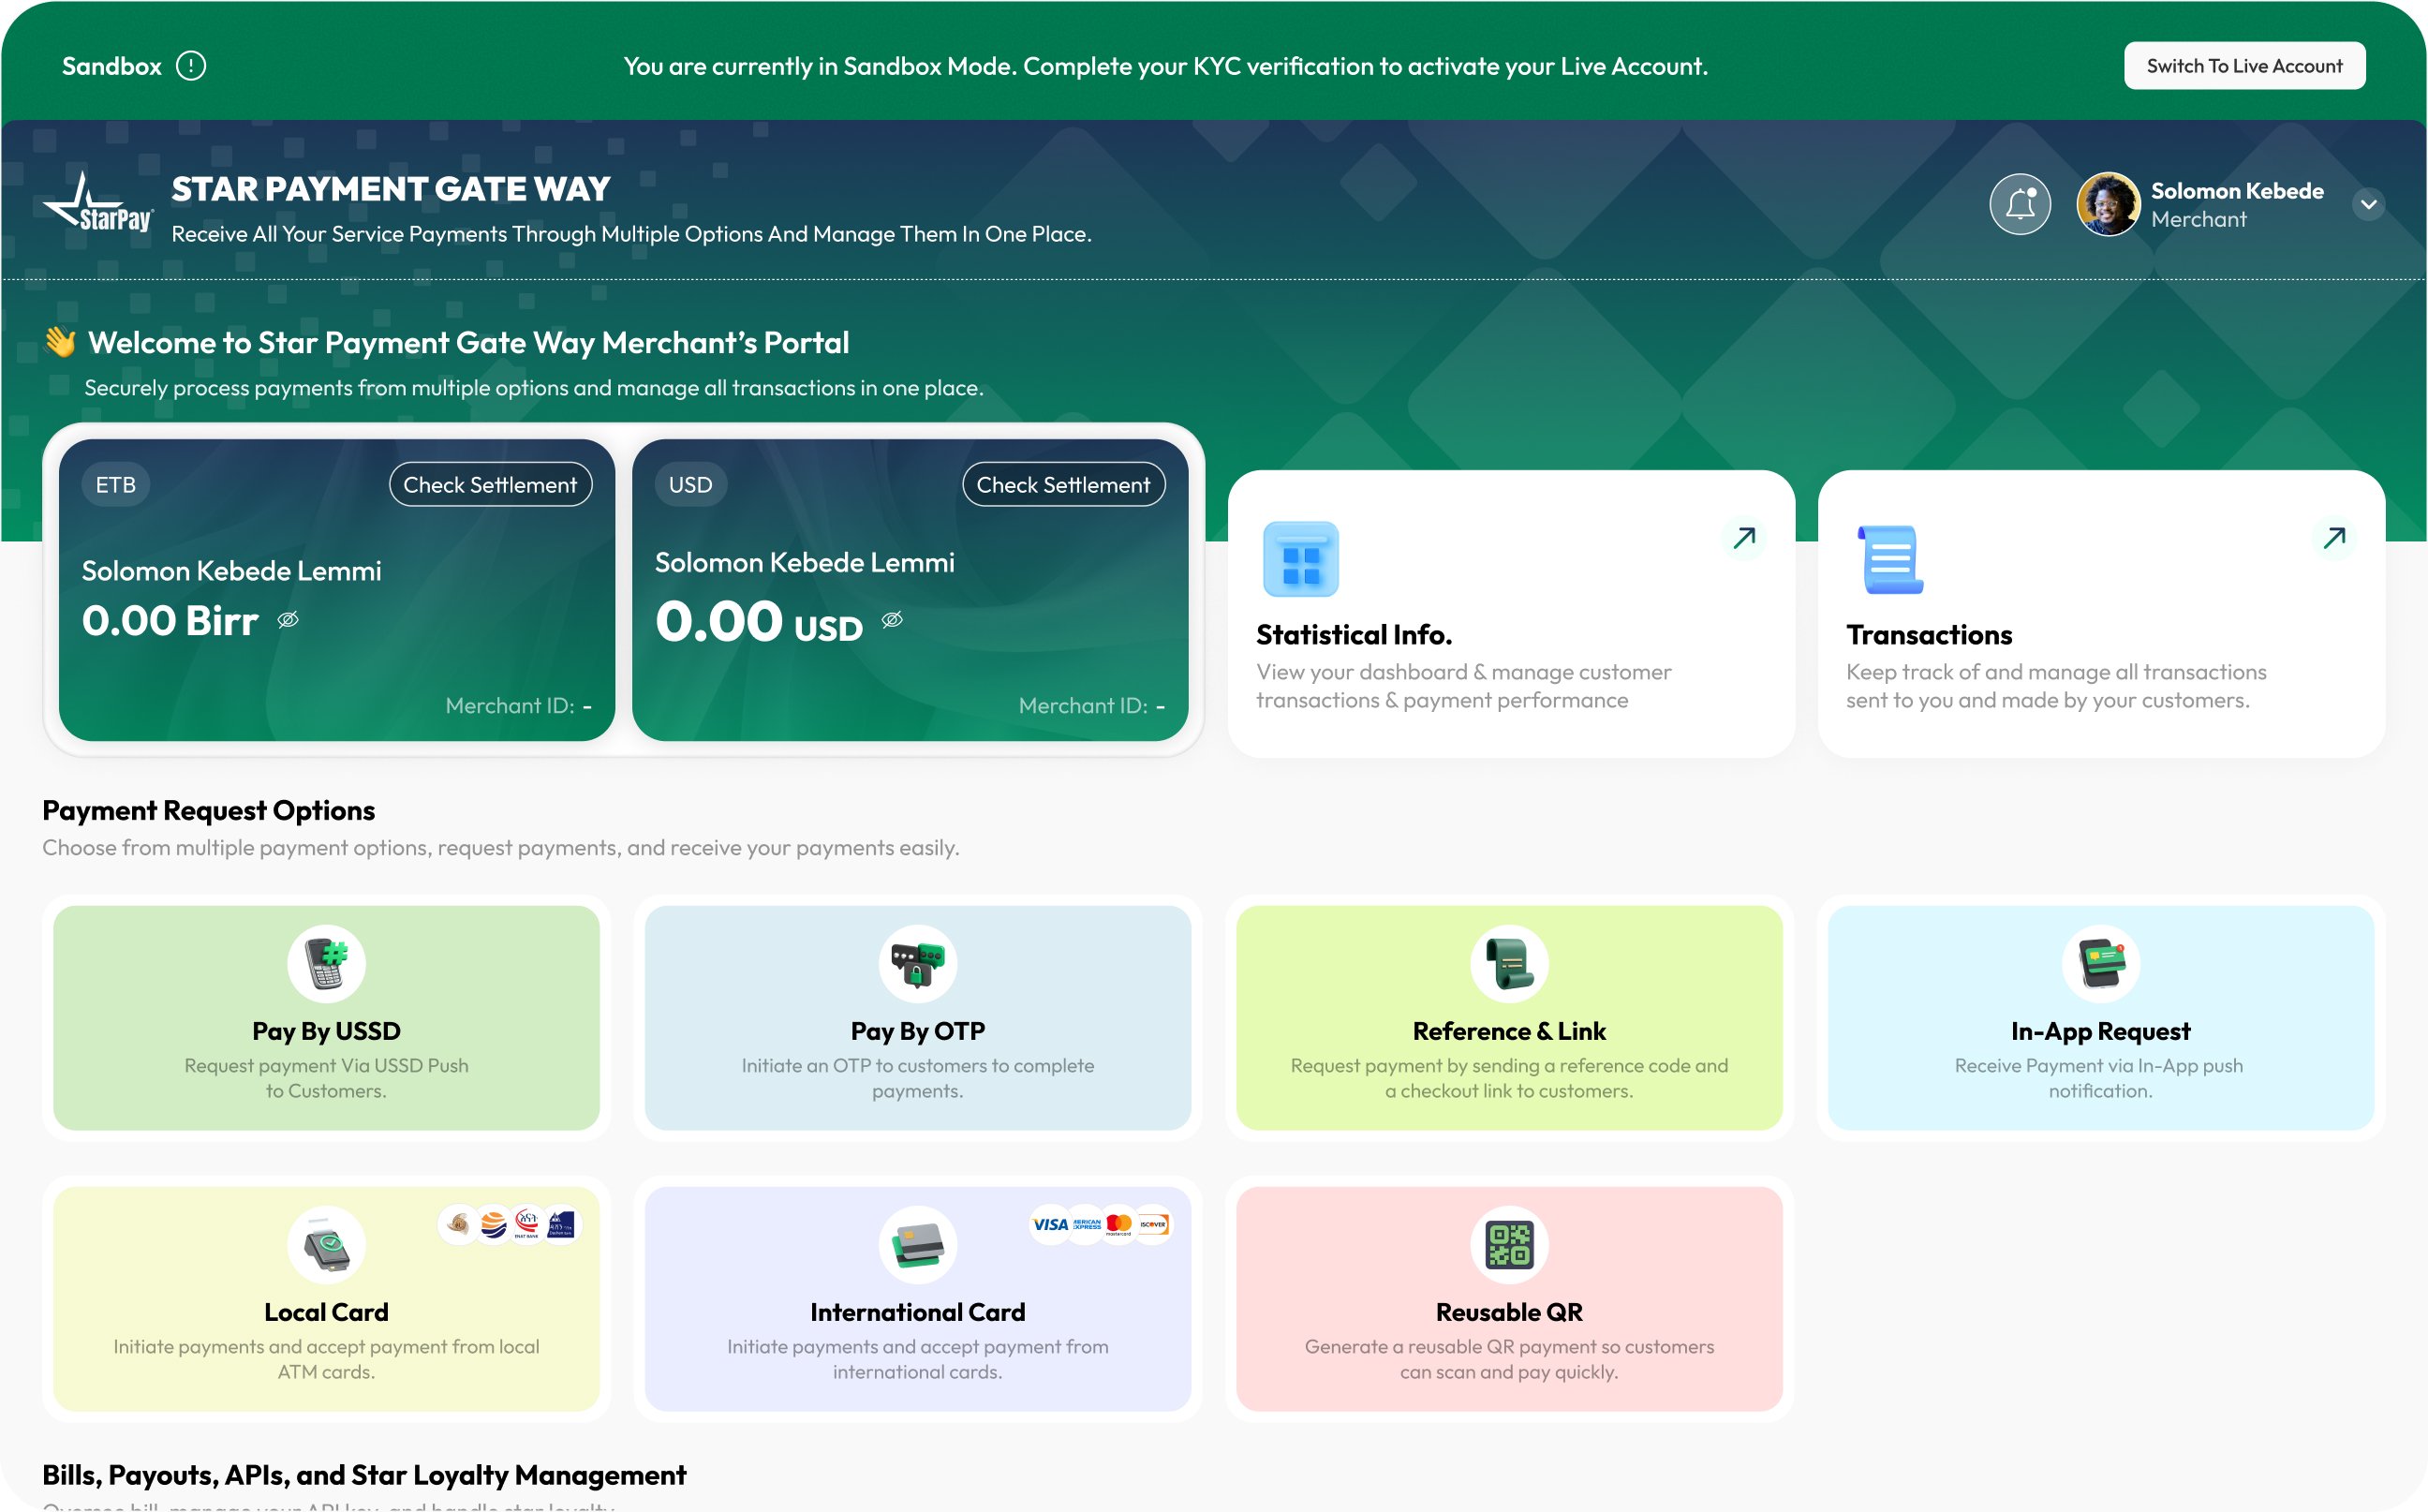
 4. Sign in to the **StarPay Sandbox Merchant Portal** using your Merchant ID and registered phone number.
 ***
## 2. Generate API Credentials
API credentials are required to authenticate requests and securely receive payment notifications.
1. Log in to the Merchant Portal.
2. Navigate to **API Keys**.
***
## 2. Generate API Credentials
API credentials are required to authenticate requests and securely receive payment notifications.
1. Log in to the Merchant Portal.
2. Navigate to **API Keys**.
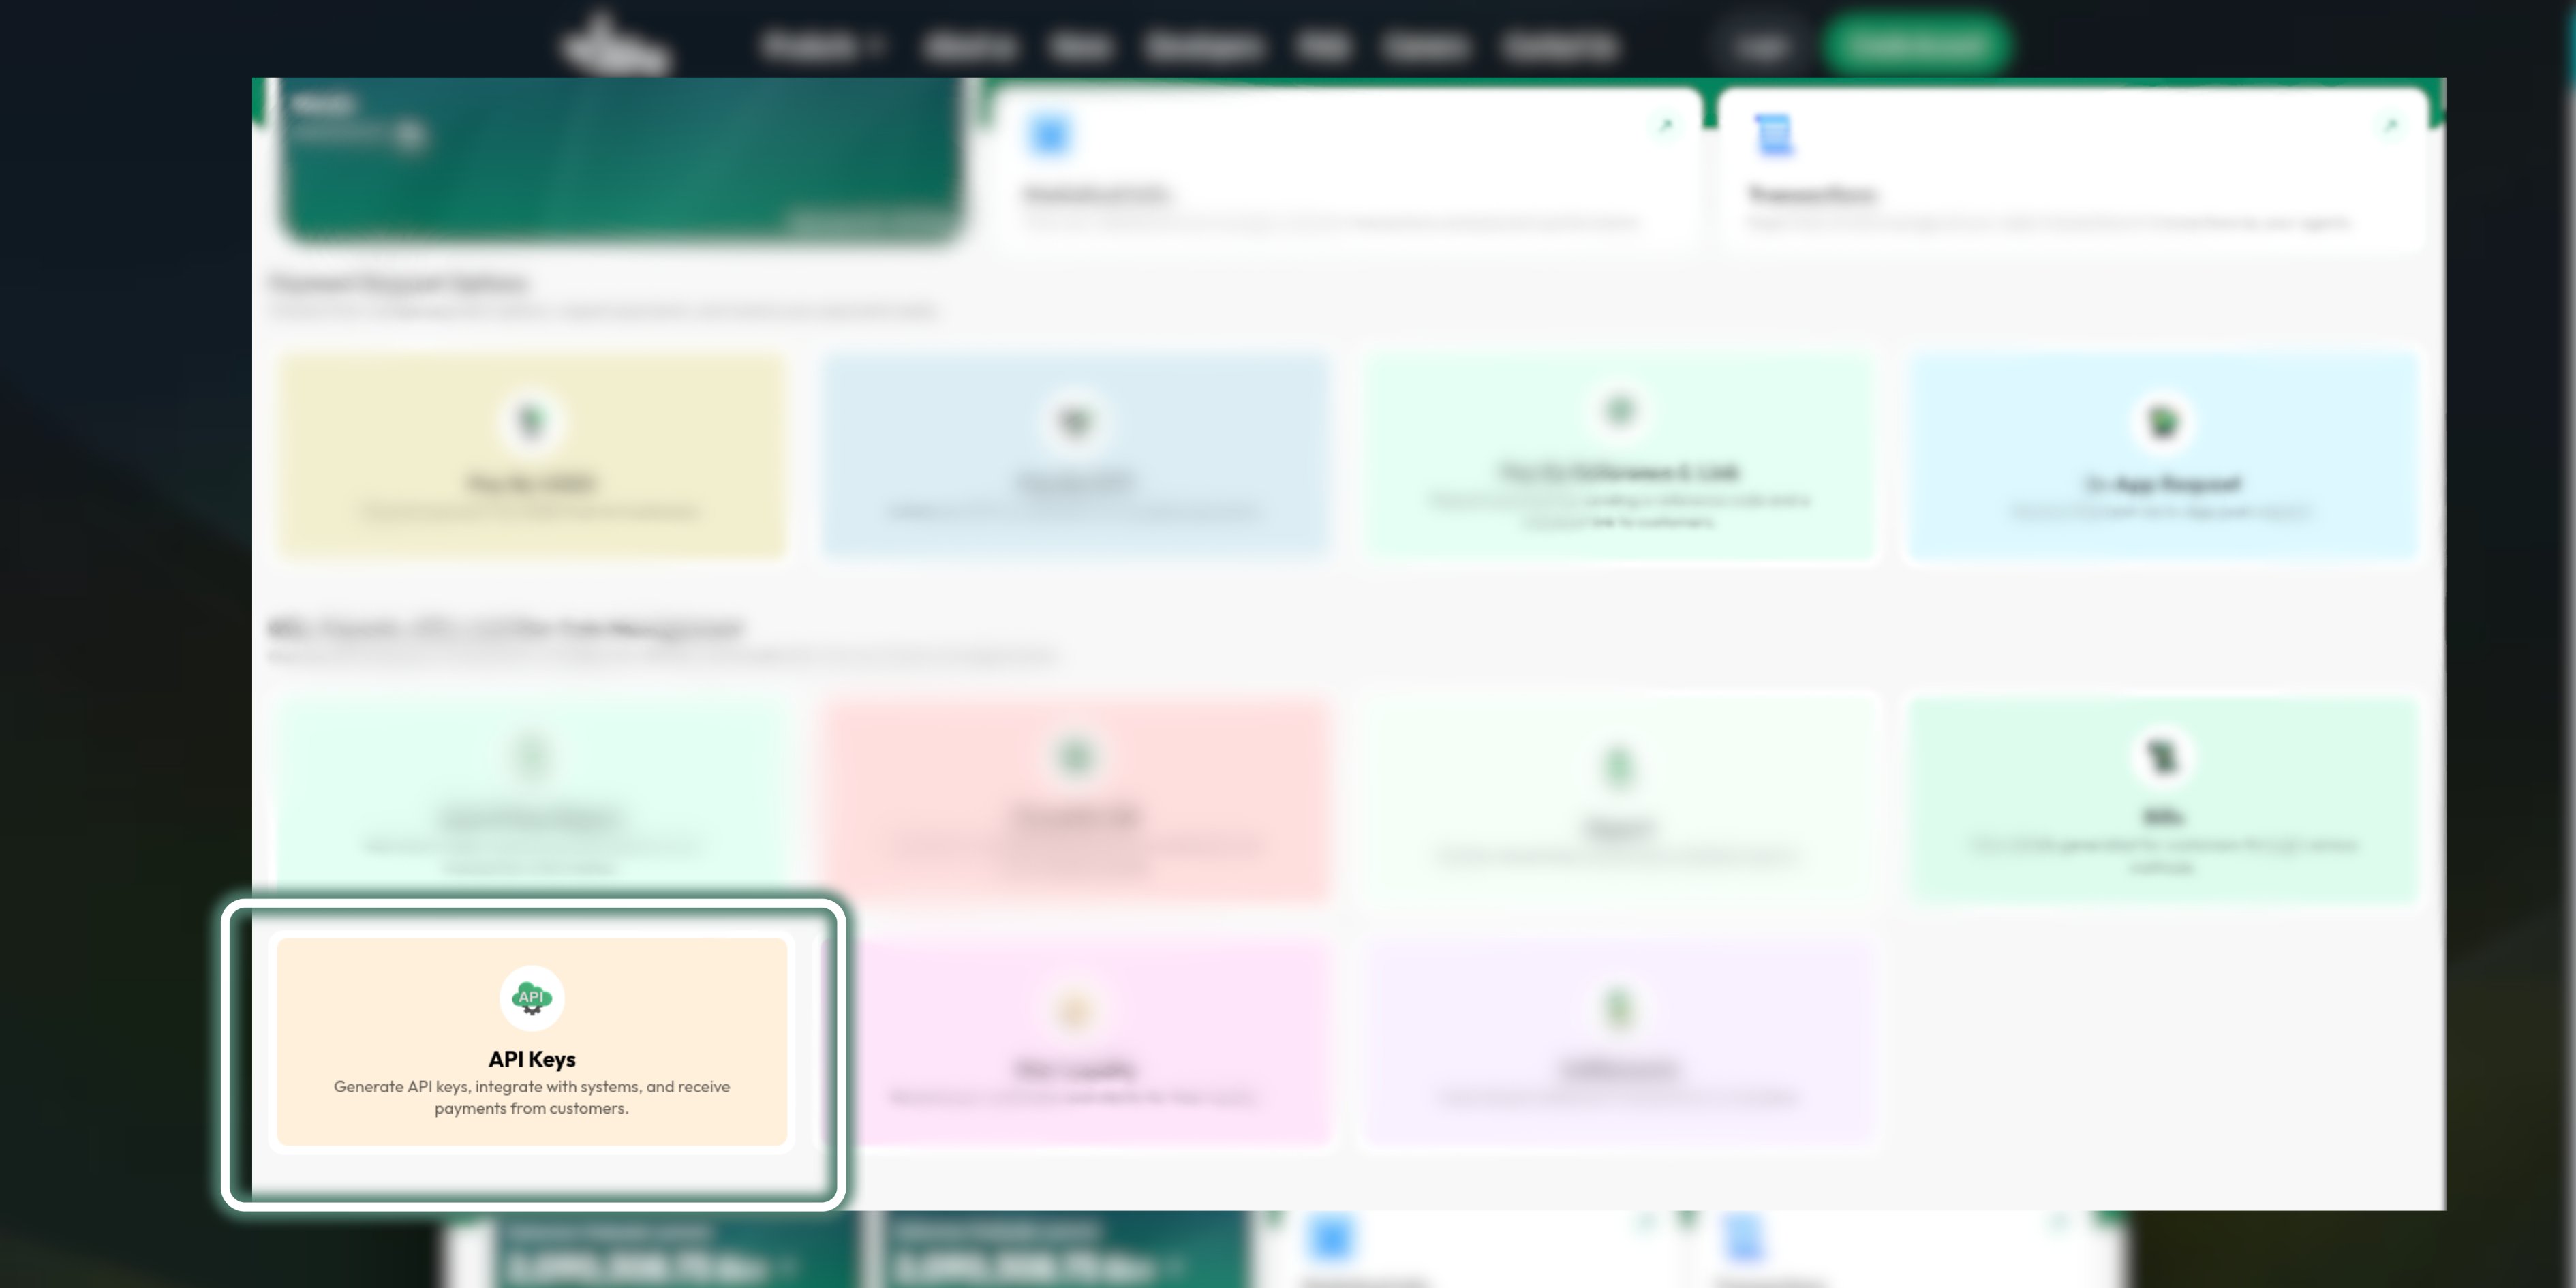 3. Generate an **API Key** by providing a name for the key.
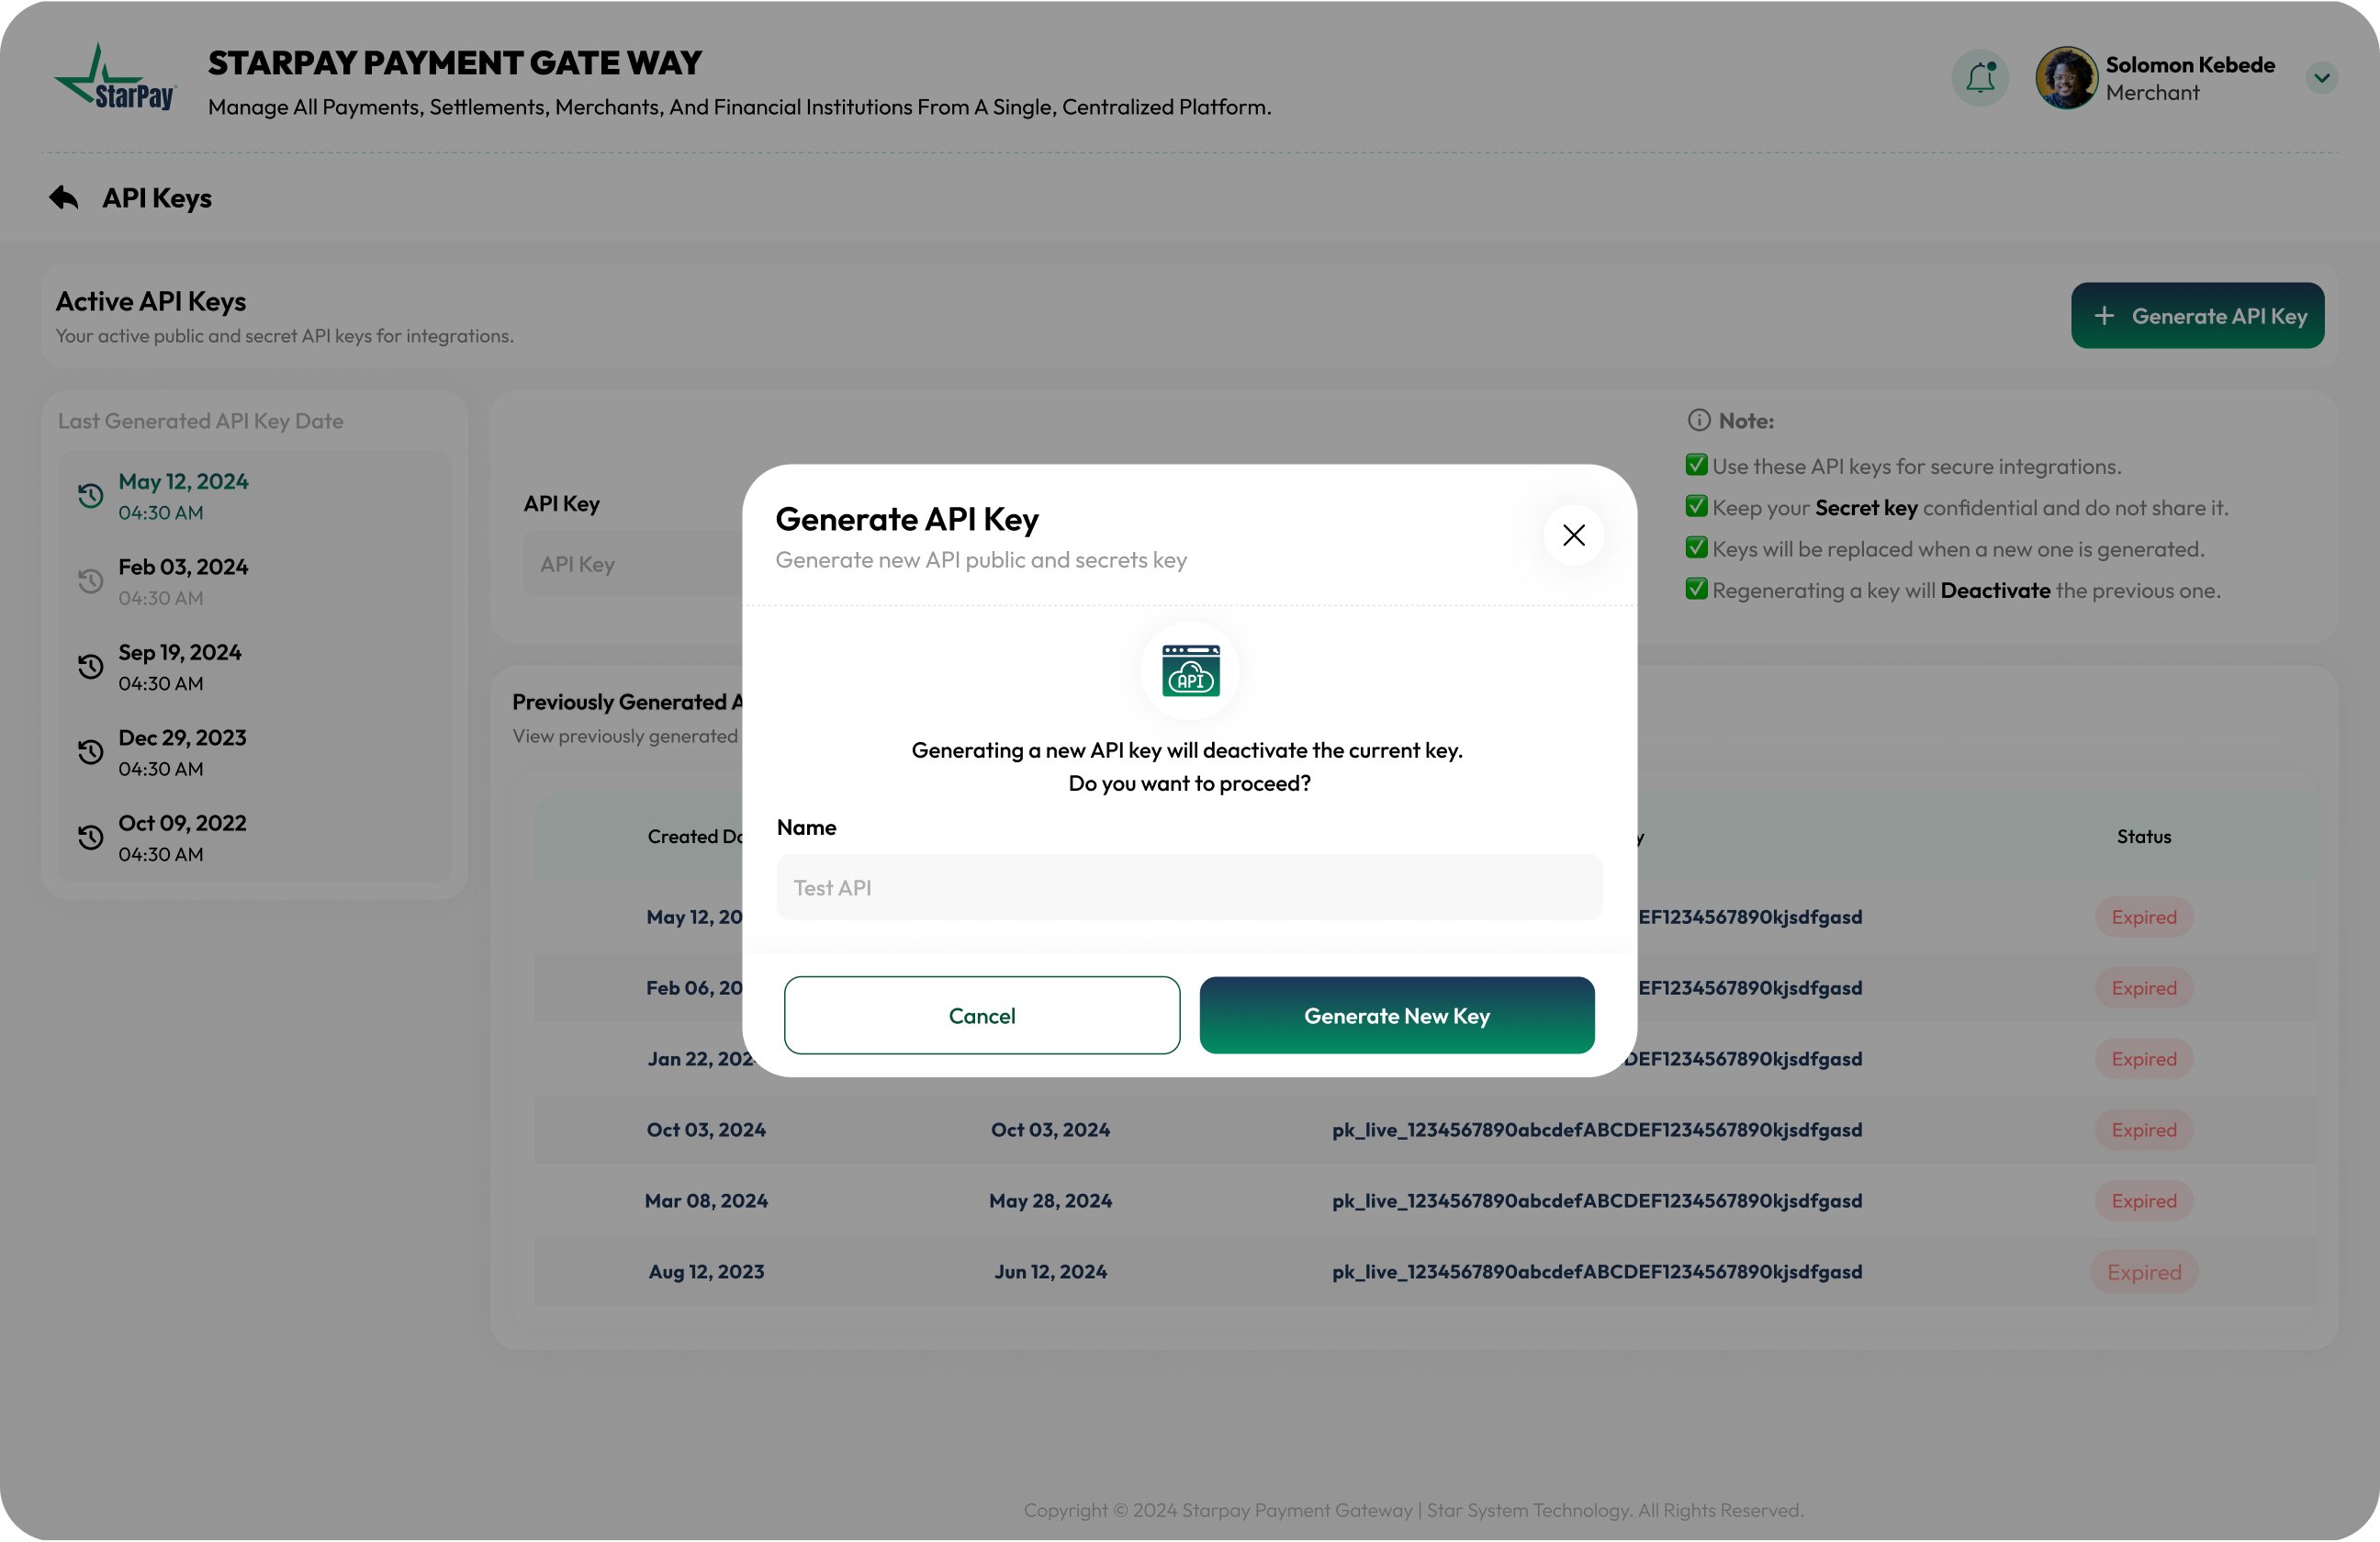 4. Generate a **Callback Key**, which is used to verify signatures and secure communication between StarPay and your system.
You are now ready to initiate transactions and generate payment links.
***
## 3. Move to Production
When you are ready to accept live payments, submit your business information for review.
1. Log in to the Merchant Portal.
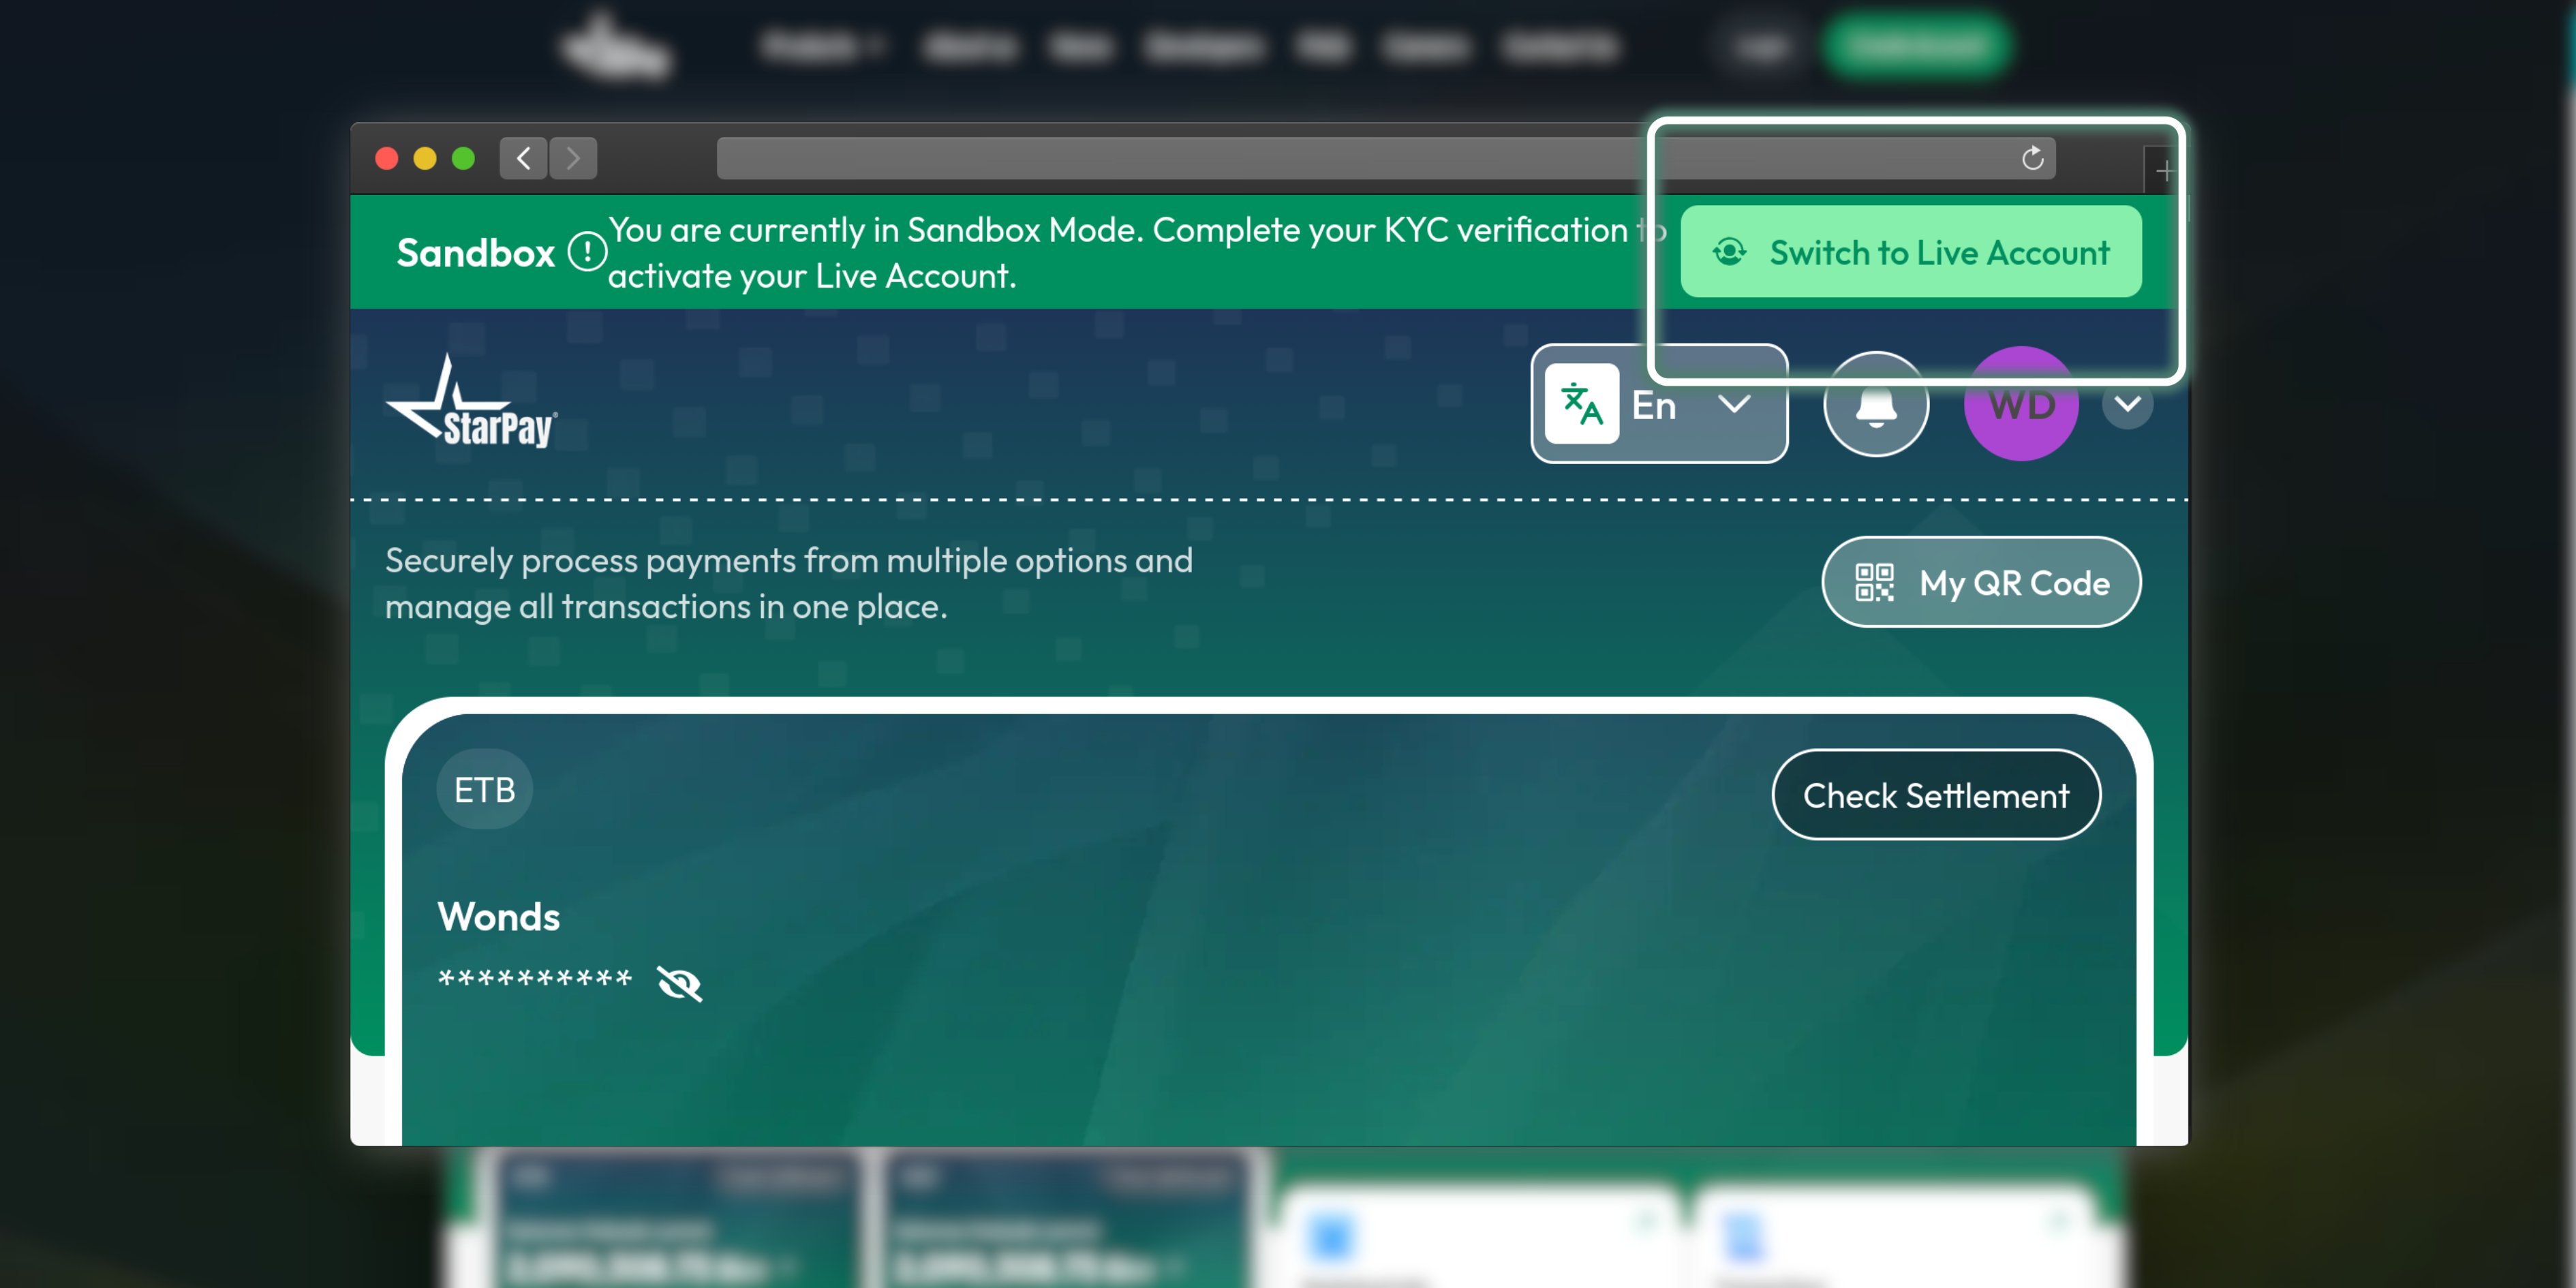
2. Click **Switch to Live Mode**.
4. Generate a **Callback Key**, which is used to verify signatures and secure communication between StarPay and your system.
You are now ready to initiate transactions and generate payment links.
***
## 3. Move to Production
When you are ready to accept live payments, submit your business information for review.
1. Log in to the Merchant Portal.
2. Click **Switch to Live Mode**.
 3. Provide the required business information, including:
* Business License Number
* TIN (Tax Identification Number)
* Settlement Bank Account
3. Provide the required business information, including:
* Business License Number
* TIN (Tax Identification Number)
* Settlement Bank Account
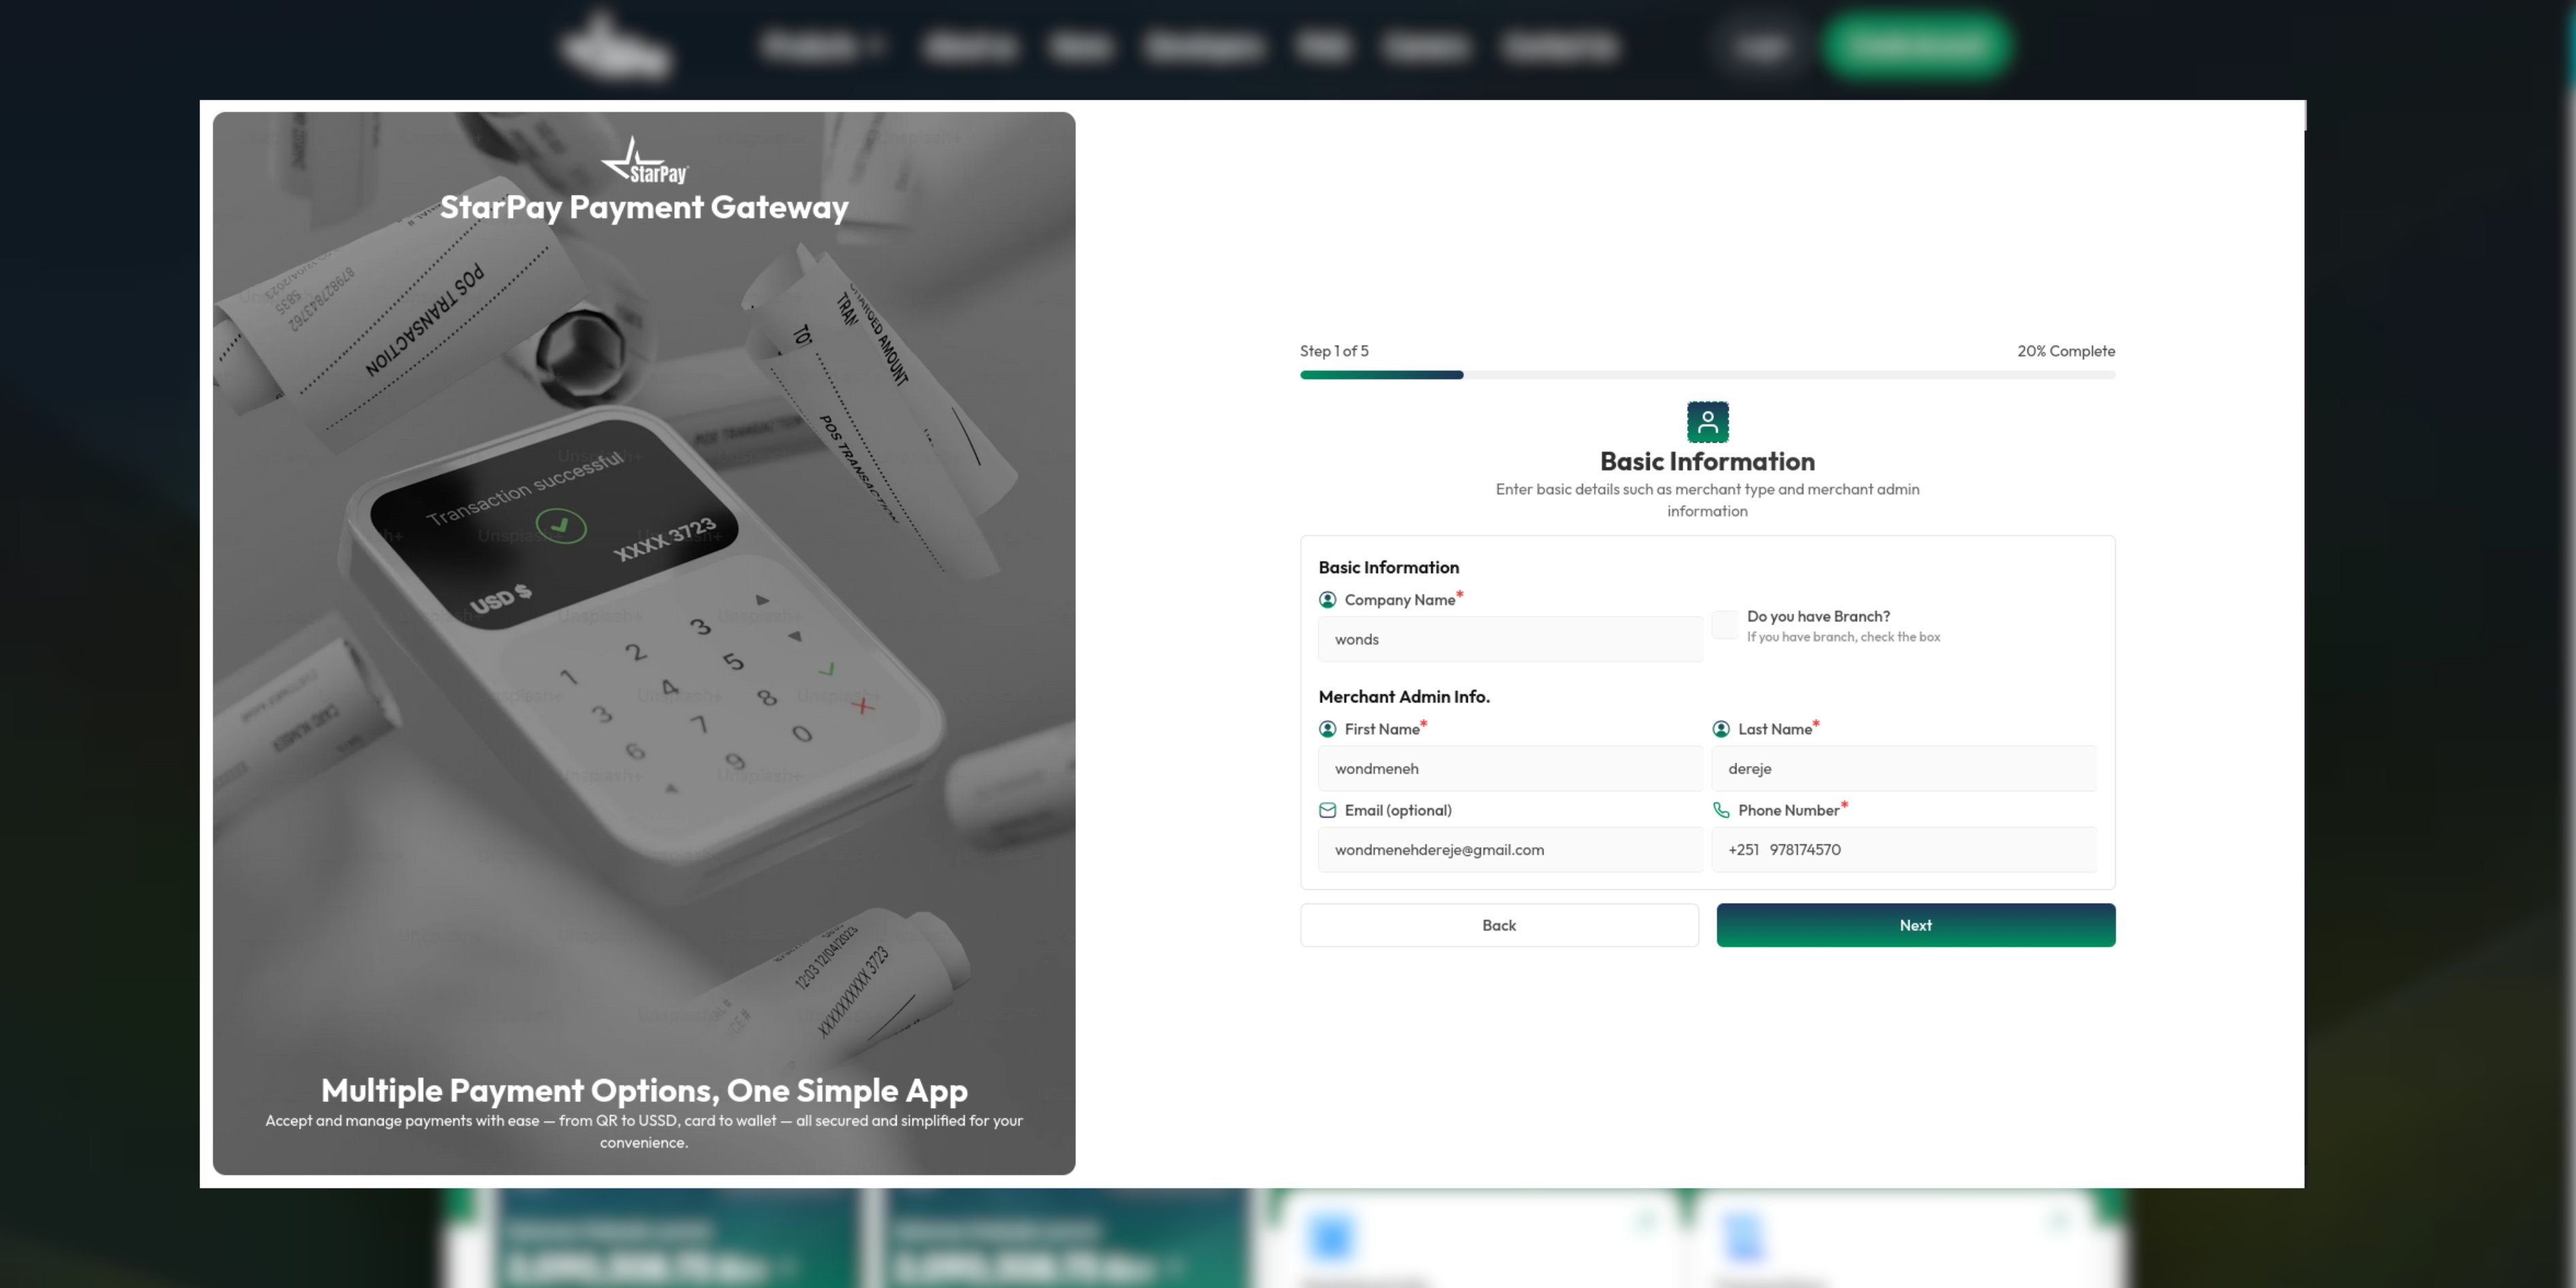 4. Submit your application for review.
Our team will review your information and notify you of the approval status.
## Important: API Gateway Access
After your production account is approved, API access must be enabled for your merchant account before you can start making API requests.
If API Gateway access has not been enabled, requests to the StarPay API will be rejected with the following error:
```json theme={null}
{
"message": "API gateway feature is not enabled. If you believe this is an error, please contact your administrator."
}
```
### What to do
* Ensure your production onboarding request has been approved.
* Verify that the **API Gateway** feature has been enabled for your merchant account.
* Generate your production API credentials from the Merchant Portal.
* If you receive the error above, contact the StarPay support team or your account administrator to request API Gateway activation.
> **Note:** Production account approval and API Gateway activation are separate steps. A merchant may have an approved production account but still be unable to access the API until API Gateway access has been enabled.
***
### After Approval
Once your application is approved:
1. You will receive a **Production Merchant ID** associated with your registered phone number.
2. Sign in to the **Production Merchant Portal**.
3. Update your integration settings:
```text theme={null}
https://api.starpayethiopia.com
```
4. Generate new **Production API Keys**.
5. Generate a new **Production Callback Key**.
Your integration is now ready to process live transactions and accept real payments.
4. Submit your application for review.
Our team will review your information and notify you of the approval status.
## Important: API Gateway Access
After your production account is approved, API access must be enabled for your merchant account before you can start making API requests.
If API Gateway access has not been enabled, requests to the StarPay API will be rejected with the following error:
```json theme={null}
{
"message": "API gateway feature is not enabled. If you believe this is an error, please contact your administrator."
}
```
### What to do
* Ensure your production onboarding request has been approved.
* Verify that the **API Gateway** feature has been enabled for your merchant account.
* Generate your production API credentials from the Merchant Portal.
* If you receive the error above, contact the StarPay support team or your account administrator to request API Gateway activation.
> **Note:** Production account approval and API Gateway activation are separate steps. A merchant may have an approved production account but still be unable to access the API until API Gateway access has been enabled.
***
### After Approval
Once your application is approved:
1. You will receive a **Production Merchant ID** associated with your registered phone number.
2. Sign in to the **Production Merchant Portal**.
3. Update your integration settings:
```text theme={null}
https://api.starpayethiopia.com
```
4. Generate new **Production API Keys**.
5. Generate a new **Production Callback Key**.
Your integration is now ready to process live transactions and accept real payments.